
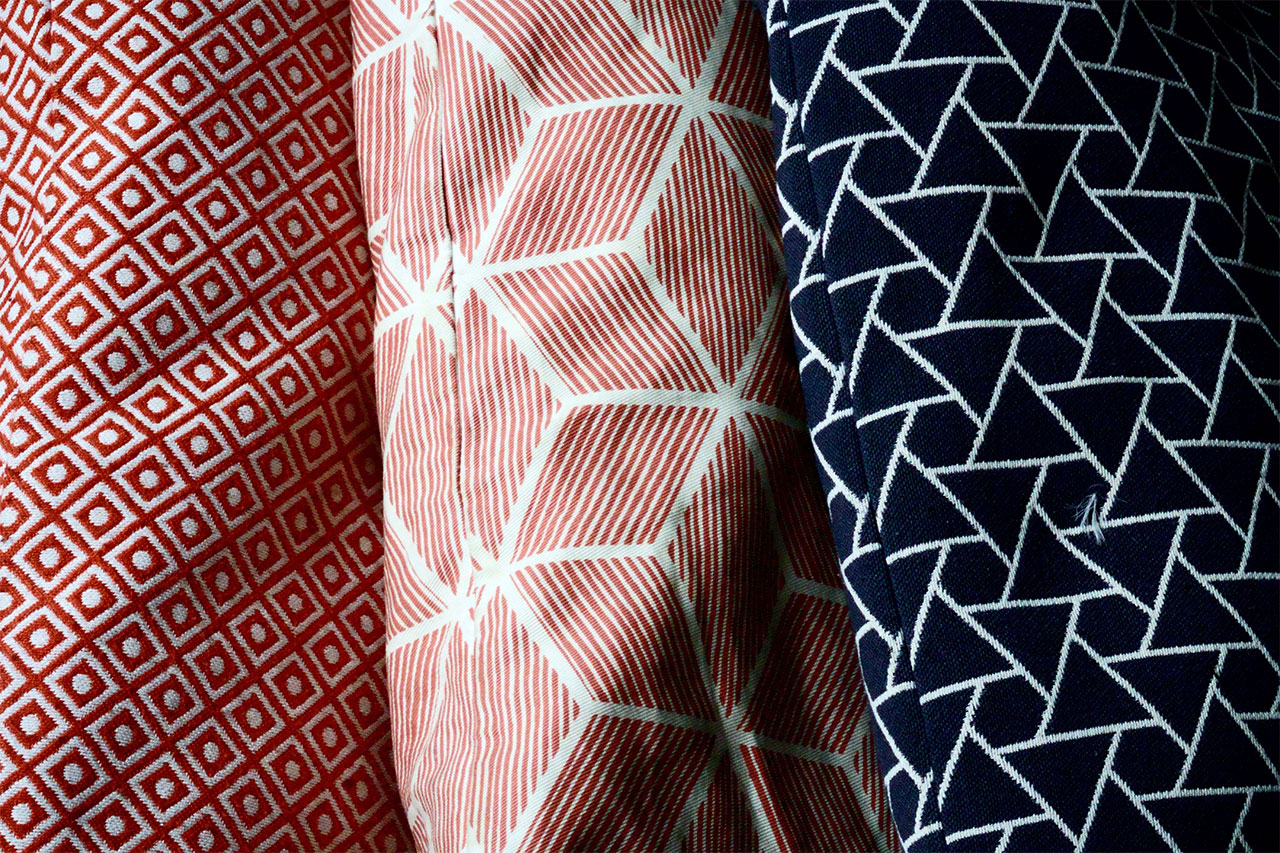
Futon cover yardage depends on three things: the mattress dimensions, the fabric’s usable width, and whether the fabric has a pattern repeat or a nap. A full-size cover in a 54-inch-wide solid typically needs several yards; the same cover in a large-repeat print or a directional pile fabric needs meaningfully more. Do the panel math before you buy, because running short mid-project usually means a dye-lot mismatch.
Below is how to calculate it yourself rather than relying on a rule of thumb that was written for someone else’s mattress.
Start with the mattress, not the frame
Every calculation below uses the mattress dimensions: width (W), length (L), and thickness (T), measured on the bare mattress lying flat. If you haven’t taken those numbers yet, measure the futon first — the yardage math is only as good as the measurements underneath it.
For this article, we’ll use W, L, and T as variables so the method works for any size.
The panels you’re cutting
A basic futon cover is a box. Six faces, but the bottom and top are the big ones:
- Top panel: W × L
- Bottom panel: W × L
- Two long side panels (boxing): T × L each
- Two short end panels (boxing): T × W each
Plus seam allowance on every edge of every panel, and extra along the zipper edge for the zipper tape and its seam.
Some constructions replace the four separate boxing strips with one continuous strip that runs the perimeter, broken only where the zipper goes. The material total is similar; the difference is in seam count and how easily the fabric handles corners.
Usable width is the constraint
Fabric comes off the bolt at a fixed width, commonly around 54 inches for upholstery-weight goods, though it varies by mill. Subtract the selvage edges, which are usually unusable, and you get the usable width.
This matters because your top panel is W wide. If W is less than the usable width, the top panel cuts from a single width of fabric and you simply need enough length. If W is greater than the usable width — which happens on queen sizes and wide daybeds — you cannot cut the panel in one piece. You’ll either need to seam two pieces together (which puts a visible seam down the middle of the cover, sometimes acceptable, sometimes not) or run the fabric the other direction, which changes the math entirely and may not work with a directional print.
Check the fabric’s stated width before doing anything else. It’s the variable that decides whether your project is straightforward or complicated.
The basic calculation, solids only
For a solid, non-directional fabric where W fits within the usable width:
- Top and bottom: each needs L inches of fabric length, plus seam allowance. Two panels = 2 × (L + allowance) inches of length.
- Long boxing strips: each is T inches wide and L inches long. Two of them, side by side across the fabric’s width, take up 2 × (T + allowance) inches of the fabric’s width and L + allowance inches of its length. Because they’re narrow, they often fit alongside each other in one length of fabric.
- End boxing strips: T × W each, small enough to cut from remnants left beside other panels in most layouts.
- Total length needed in inches = sum of the lengths from steps 1–3 for whatever layout you choose.
- Divide by 36 to get yards. Round up to the next half yard.
- Add 10–15% for cutting error, squaring the fabric, and the piece you’ll inevitably ruin.
The 10–15% margin is not optional padding. Fabric arrives off-grain more often than you’d like, squaring it costs inches, and if you run short you’re buying from a different bolt with a different dye lot.
What increases the number
Pattern repeat. A print repeats at a fixed interval — the repeat length. To keep the pattern aligned across panels and centered on the visible top, you have to cut each panel starting at the same point in the repeat, which means discarding fabric between panels. A large repeat can add a substantial amount. As a rough approach: for each major panel, add one full repeat length to the fabric you allocate to it. Large-scale prints on large covers are the single biggest driver of yardage overruns.
Nap and direction. Microsuede, chenille, velvet, and corduroy have a pile that catches light differently depending on direction. All panels must be cut running the same way or the finished cover will look like two different fabrics. That eliminates the option of nesting panels head-to-toe to save fabric.
One-way prints. Anything with an obvious up and down — figures, text, scenic prints — has the same constraint as nap.
Stripes and plaids. Must be matched at the seams, which behaves like a pattern repeat in both directions for plaids.
Piping. Self-piping is cut on the bias in strips and joined, and it consumes noticeably more fabric than its finished length suggests because of the diagonal cutting and the joins. If you want piping, budget extra specifically for it.
Narrow fabric. If the goods are narrower than typical upholstery width, more panels have to be pieced, and yardage climbs.
Where people underbuy
Forgetting the boxing. The top and bottom panels are obvious. The four side strips are easy to overlook and they’re the full perimeter of the mattress.
Ignoring the zipper allowance. The zipper edge needs extra beyond the standard seam allowance.
Assuming the fabric is square. It usually isn’t, straight off the bolt. Squaring costs inches at minimum.
Buying exactly the calculated amount. See the 10–15% note above.
Ignoring the repeat until after ordering. By far the most expensive mistake, because the shortfall is often several yards on a large-repeat print.
Also budget for
- Zipper: long enough for the run you’ve planned, in a weight suited to upholstery fabric. Dress-weight zippers fail on futon covers.
- Thread: heavier than you’d use for garments, in enough quantity for long seams.
- Piping cord: if you’re piping, the cord itself in addition to the bias strips.
Is DIY worth it?
Do the arithmetic honestly. Yardage × price per yard, plus zipper, thread, and cord, is the material cost. Then add the time: cutting several yards of heavy fabric accurately, sewing long seams that stay true under the weight of the goods, and setting a long upholstery zipper. Then add the floor space, because you cannot cut a full-size cover on a dining table.
Sewing your own makes sense when you want a fabric nobody offers made up, when the piece is an odd shape you’d rather pattern yourself, or when you want the project. It makes less sense when the goal is simply a cover that fits.
If the goal is a cover that fits, cut-and-sew skips the yardage math entirely — you send measurements and choose a fabric, and the workroom calculates the material. How cut-and-sew works explains what that order looks like. If a stock size fits your mattress, futon covers is the fastest route of all.
Either way, order swatches before buying several yards of anything. Fabric bought by the yard is rarely returnable, and a swatch tells you what a photograph can’t.
Frequently asked questions
How many yards for a full-size futon cover? It depends on the fabric width and whether there’s a repeat. Run the panel math above with your actual measurements and your fabric’s stated width, then add 10–15%.
Can I use quilting cotton? It’s usually too lightweight for a cover that gets sat on, and it’s typically narrower than upholstery goods, which means more piecing. Use upholstery- or decorator-weight fabric.
Does the mattress thickness change how much fabric I need? Yes — thickness sets the width of all four boxing strips, so a thicker mattress needs more fabric around the entire perimeter.
How much extra for a pattern repeat? As a working estimate, add one repeat length per major panel. Large repeats on large covers can add several yards.
Do I need bias-cut fabric for piping? Bias strips curve around corners without puckering, which is why piping is traditionally cut that way. Straight-grain strips work on straight runs but fight you at the corners.